From Workbench, to Work-from-Home

A brief introduction to Brazing, and quips about the prospects of sustainable DIY
My house in Los Angeles is shared between 4 people - work a diverse set of jobs, but we all inevitably spend a lot of time on our laptops. Some of us have desks, but we've wanted to create a space for group telecommunication. We typically repurposed our ding table, but have wanted something better - a space that:
- Makes it easy to set up as a workspace, and also clear off afterwards for meals/game night/etc.
- Has task lighting and power for devices, which also gets out of the way if needed.
- Relatively waterproof and rigid.
- Fits people on 3 or 4 sides within our dining nook.
A weathered industrial workbench crossed my Craigslist feed, and while it was definitely not something you'd immediately trust with your meal, the price was reasonable and the dimensions were exactly what we were looking for.
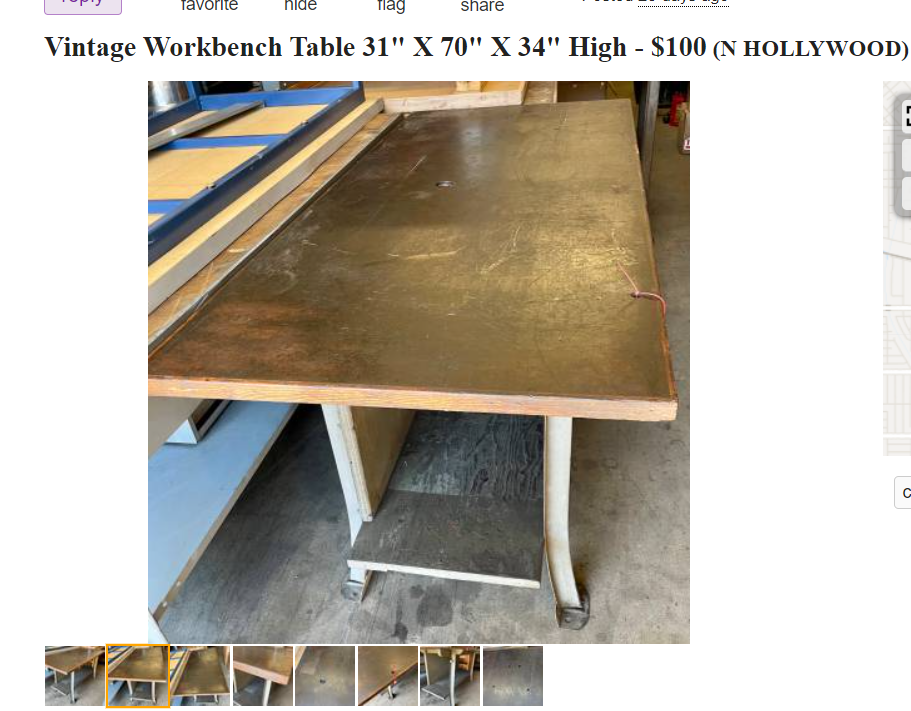
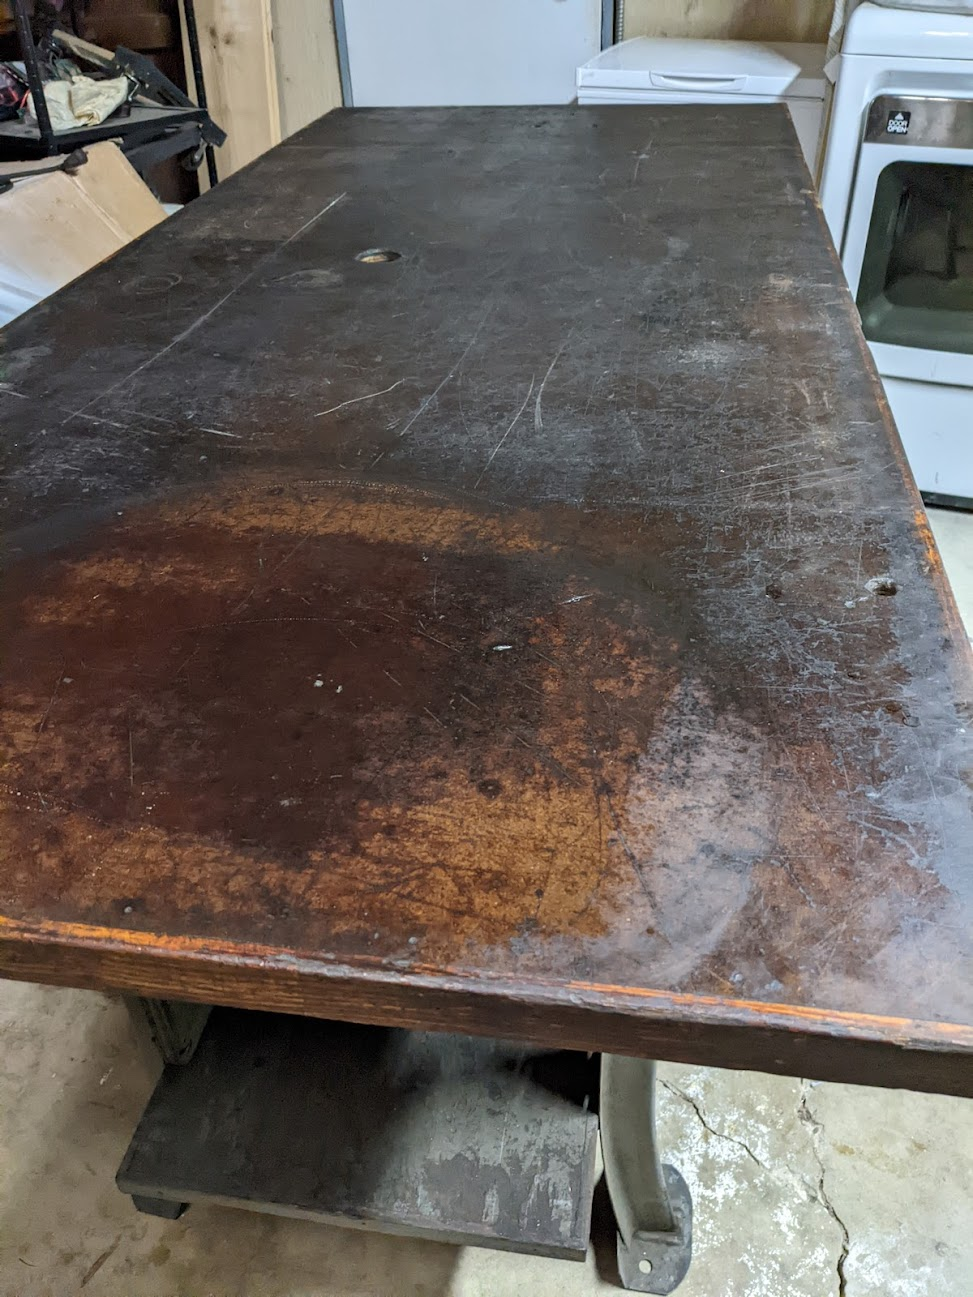
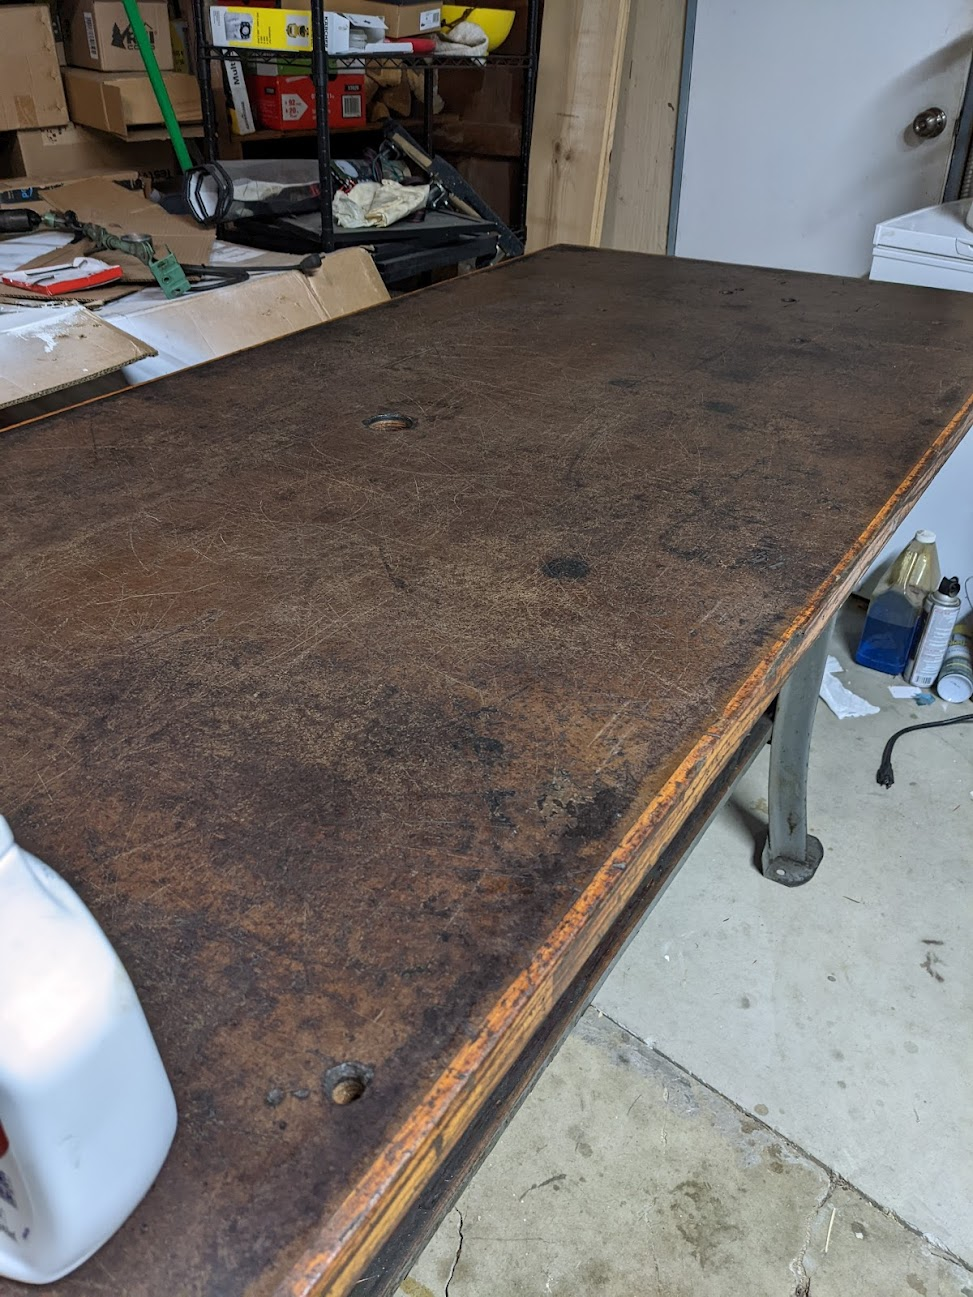
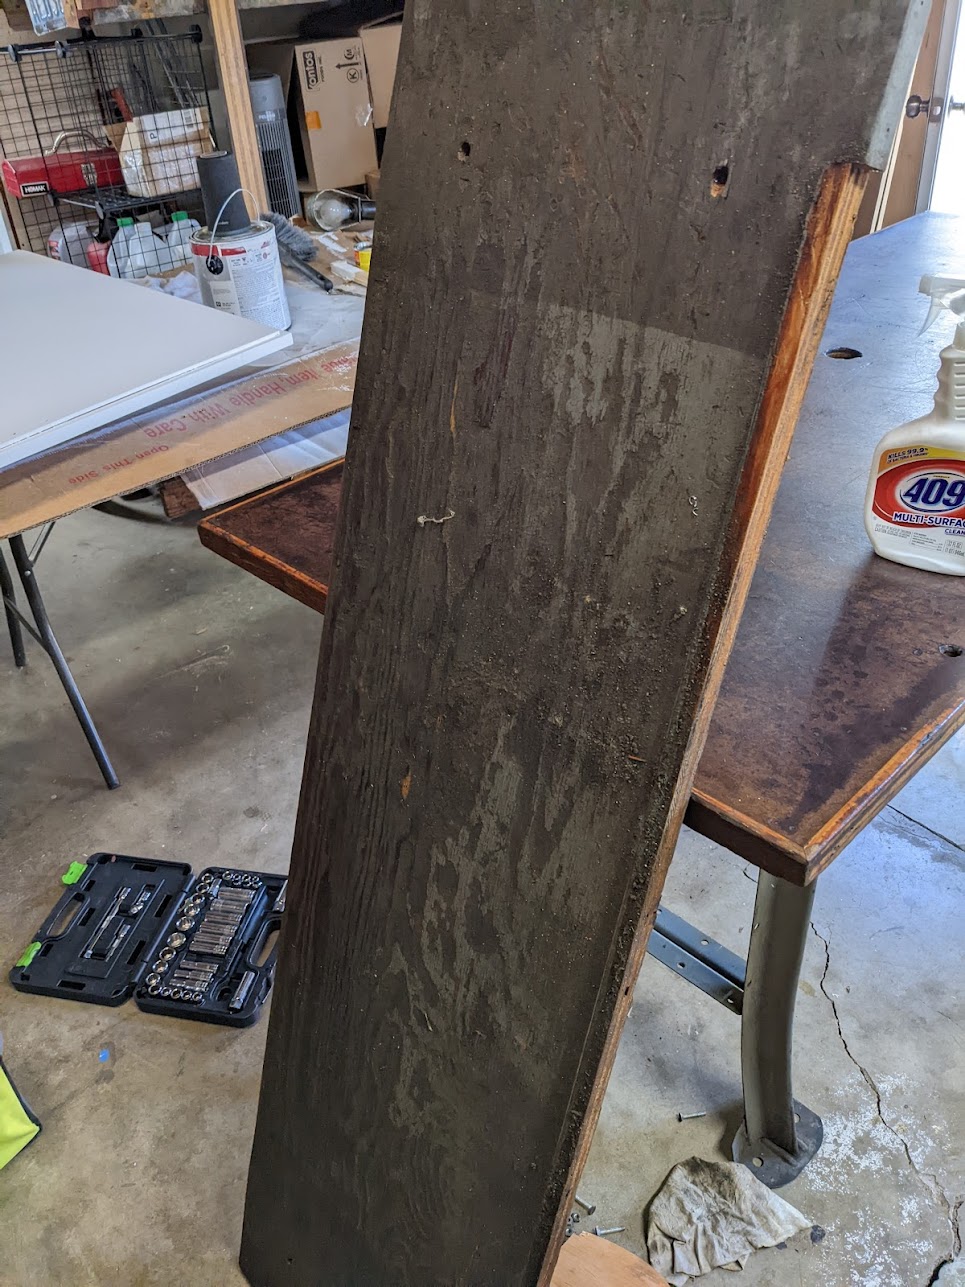
My initial preparation involved mild degreaser and removing as much surface gunk as possible. It was fowl but did come off pretty easily. the surface revealed was even more stratched and cracked than I'd seen initially. The original finish existed in places, but elsewhere the surface was bare wood soaked in (I presume) years of oil.
Tip: Wyp-All towels are way, way better than Downy - water-soluble gunk can wash out and the towels can be reused tens of times! I think I used 6 of them total in cleaning this table up.
One step I deemed necessary for a common space conversion would be removing the large stiffener affixed across the metal leg assemblies. After unbolting the massive plywood board, I noted sourly that this modification left table a bit more wobbly than anticipated. Returning the plywood wasn't ideal, not only is it just as grimy as the top and shelf, its bulk would easily get in the way of table-sitters on that side. I brainstormed a few options:
- Add tensioned members from the legs to the tabletop: cheap, but cables are prone to slipping, and it might be hard to install/make everything cleanly. Cables also only provide strength in tension - relying on all four connections for stiffness is less than ideal.
- Threaded rod members and ball joint ends: This solution would be stronger than cable, they can support under compression . However it does requires bulkier connections than cable. Overall, this feels right given the industrial aesthetic I'm going for.
- Solid braces between the legs and top: These would be made out of wood (ehhh) or sheet metal (I don't have the tools to make this). Then screws into the legs and top. more work, less adjustment in assembly.
Of these, 1 and 2 allow for the largest bracing possible, and 2 can take more strain than 1. Thus, I decided to go with a threaded-rod installation. I designed the layout of the tie rods using the available mounting holes, and maximizing leg and knee room under the table.
Start with a Side-Quest
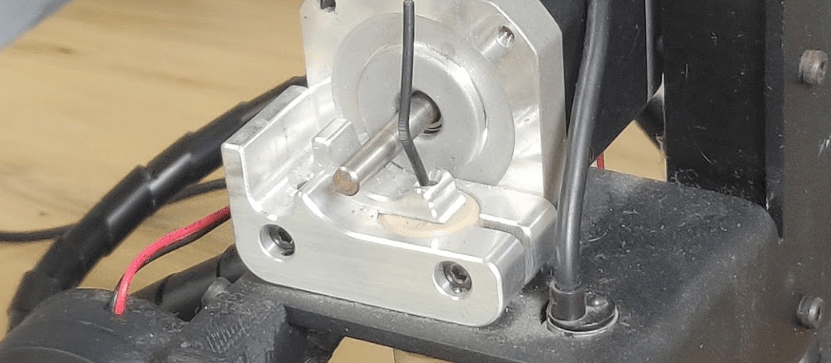
This solution required a custom part for the underside of the tabletop, unless I sent the tie rod ends through the thing. I've been exploring the process of brazing aluminum recently - it's a lower tool investment compared to welding, much more palatable to my current budget/workspace. I decided these brackets would be a perfect excuse to give it a go, picked up a MAP-pro cylinder, and set to work fabricating the parts.
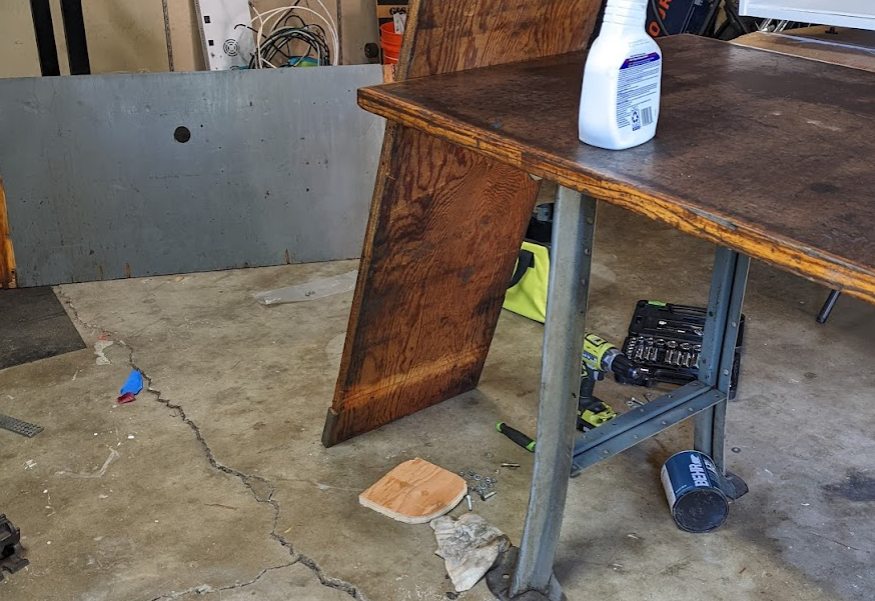
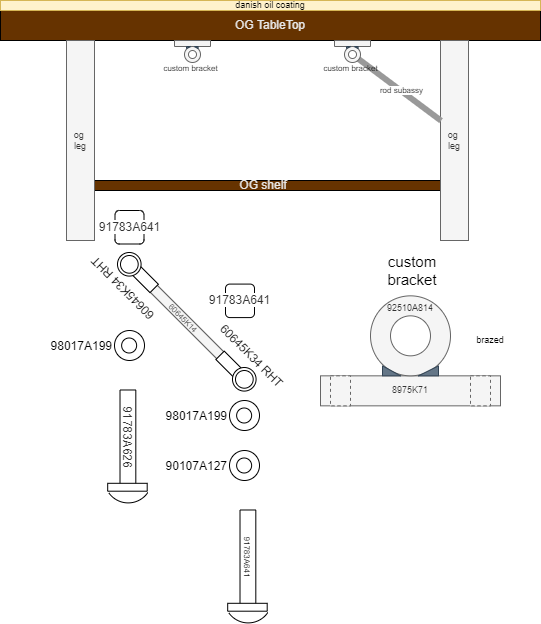
right: the plan to replace it.
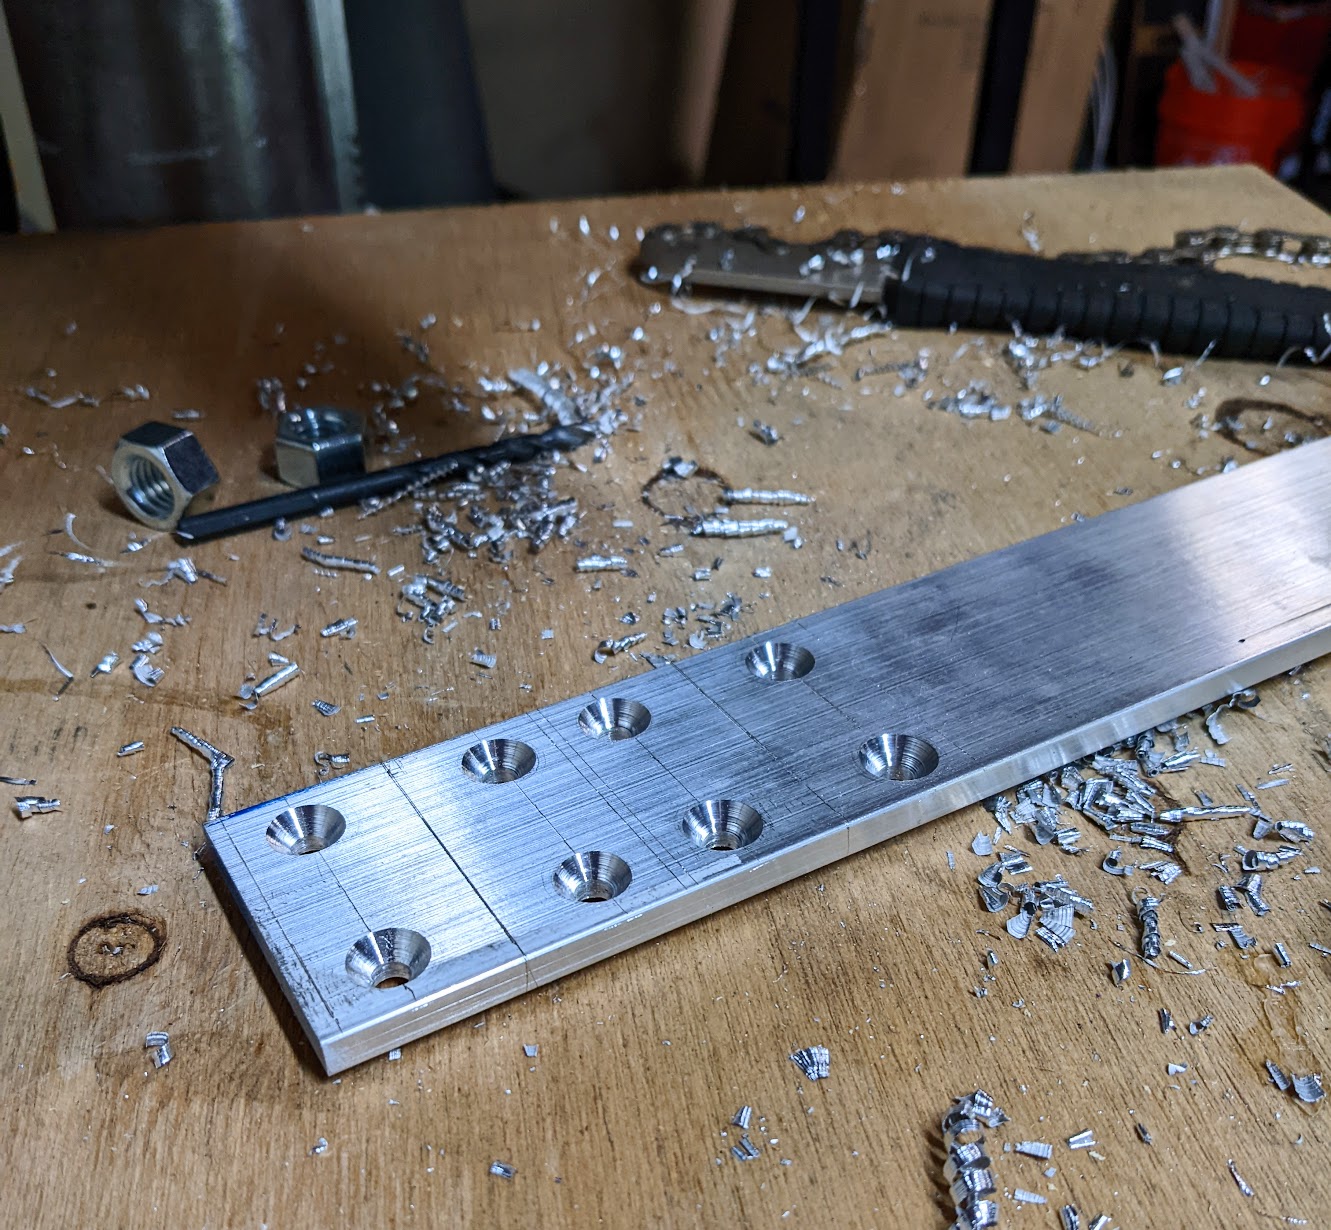
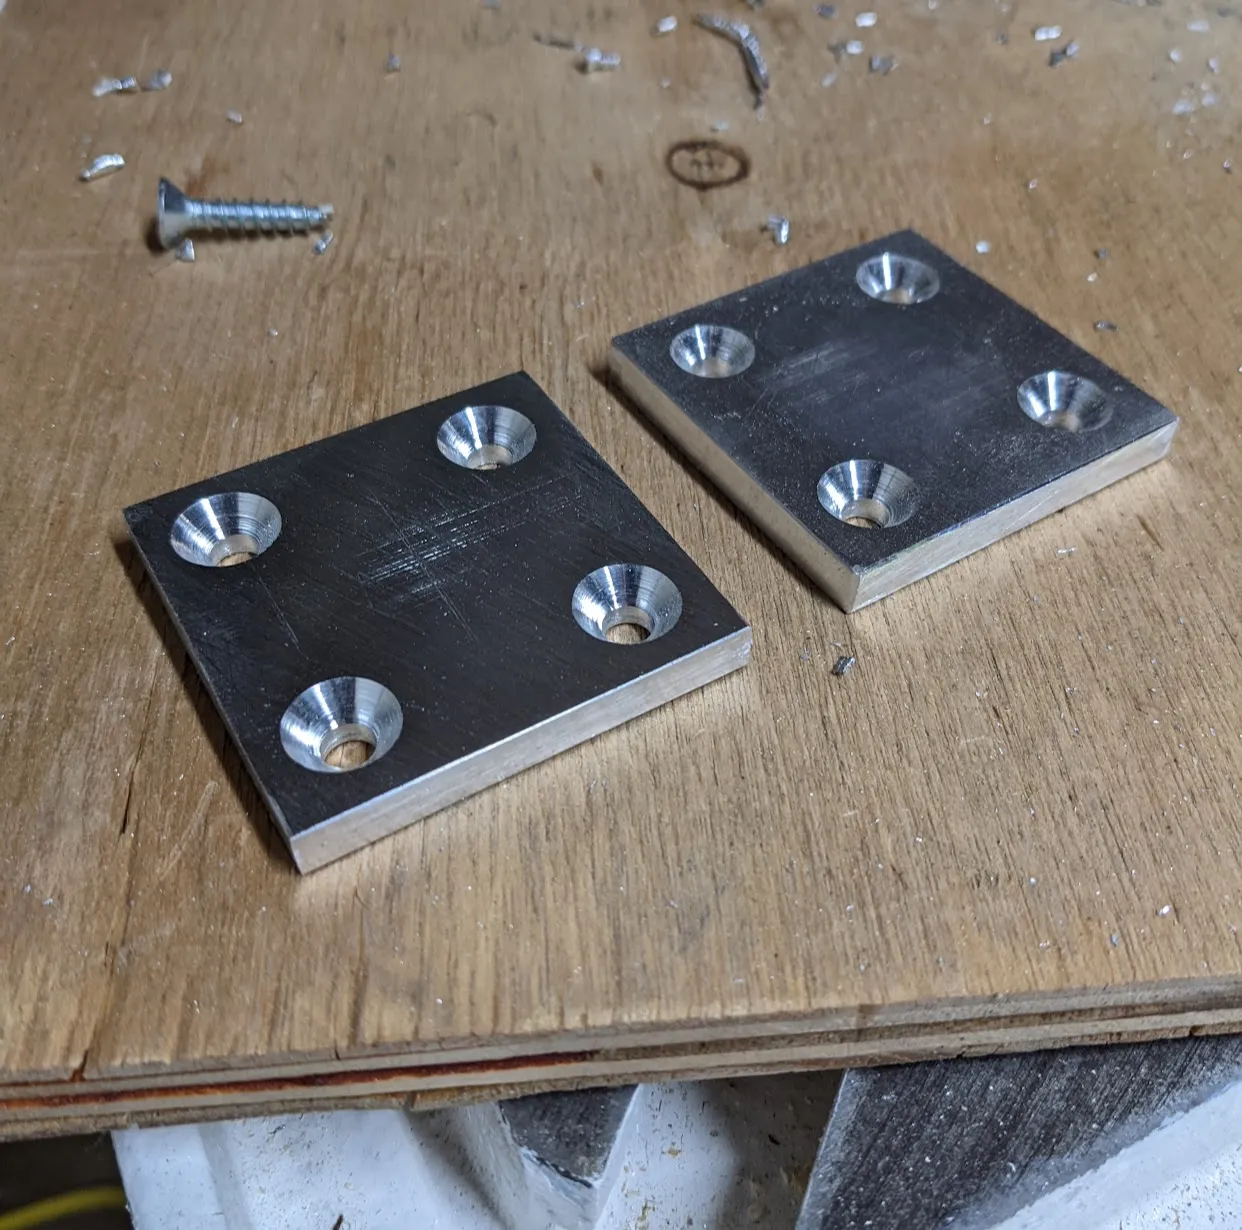
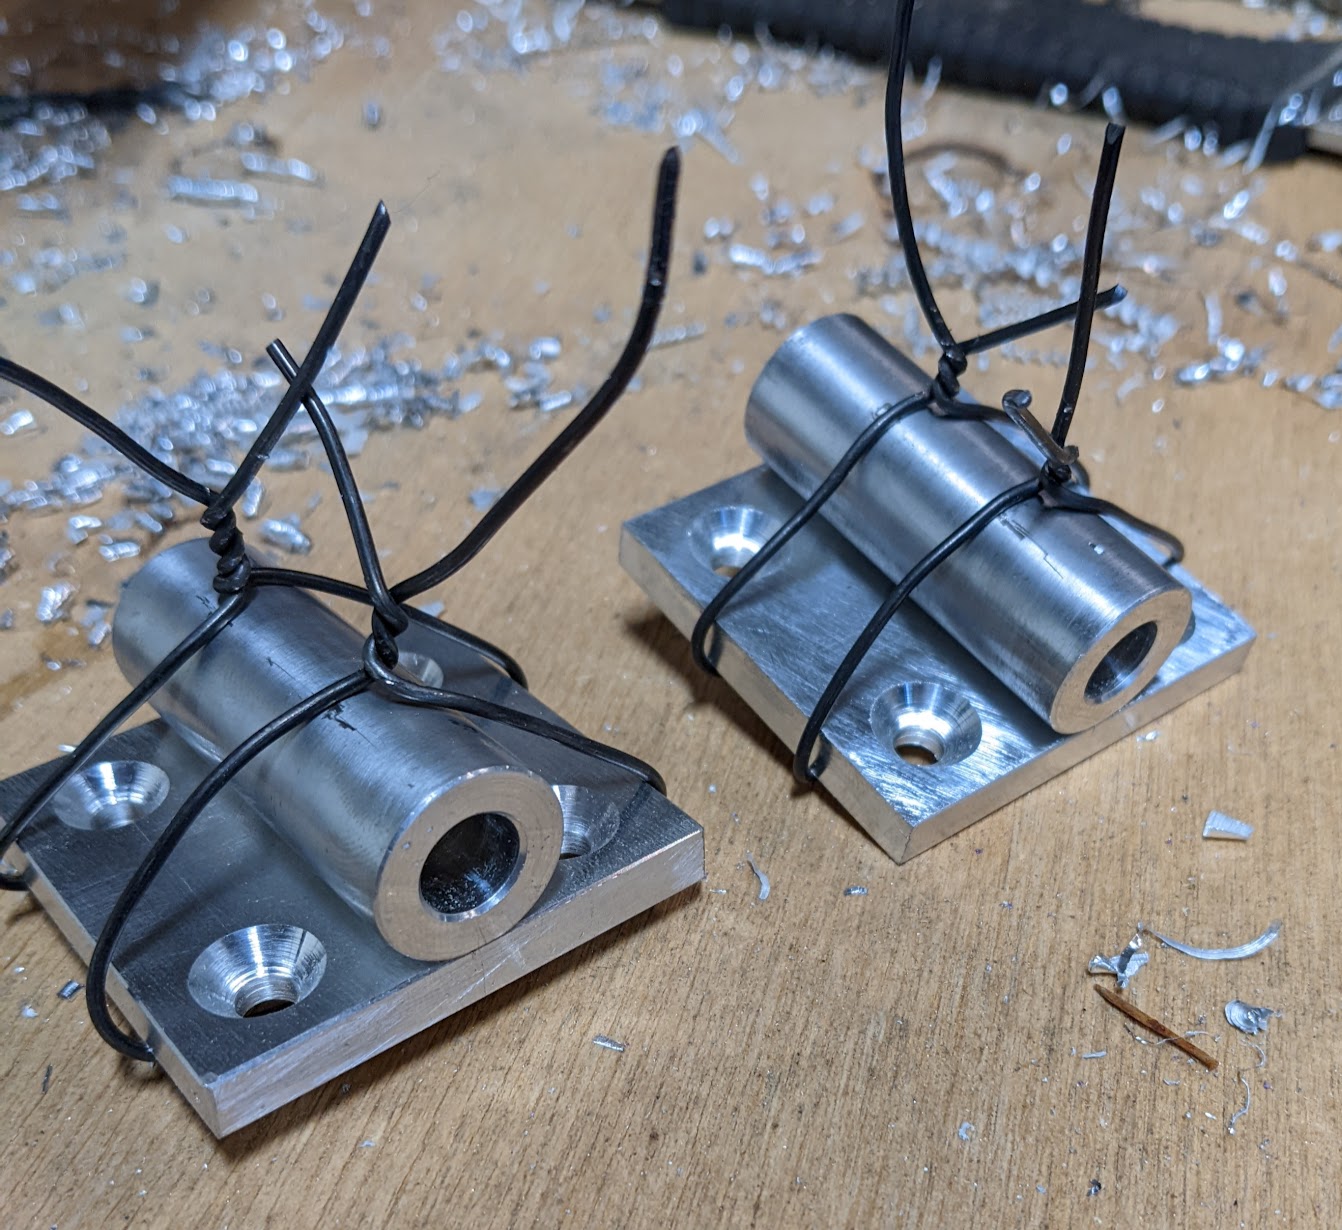
The parts to assemble were a block of bar stock and a round spacer - I sourced both out of 6061 Aluminum to make the brazing process straightforward. I picked up an Al brazing kit from McMaster, which comes with a separate flux (other brazing rod I found for aluminum comes with the flux baked in, which is like stick welding, a bit messy) . To prep the surfaces, I flattened the spacer slightly with a file to increase contact with the plate - I'm not sure if this was necessary, but it helped with keeping things stable in the end. To tie things off, I used some annealed steel wire to clamp the parts together.
There's so much to learn, but here are a few takeaways from the first go:
- A big surprise - Metals expand when heated! be ready for things to shift around, or use clamps where expanding helps you out (by pressing into the material more, for example). In hindsight aluminum armature wire would have made much more sense for clamping the material, given it has the same coefficient of expansion as the piece.
- Clear your space, you may need to come at the part from more than one angle with the torch. I worked on an open concrete pad outside.
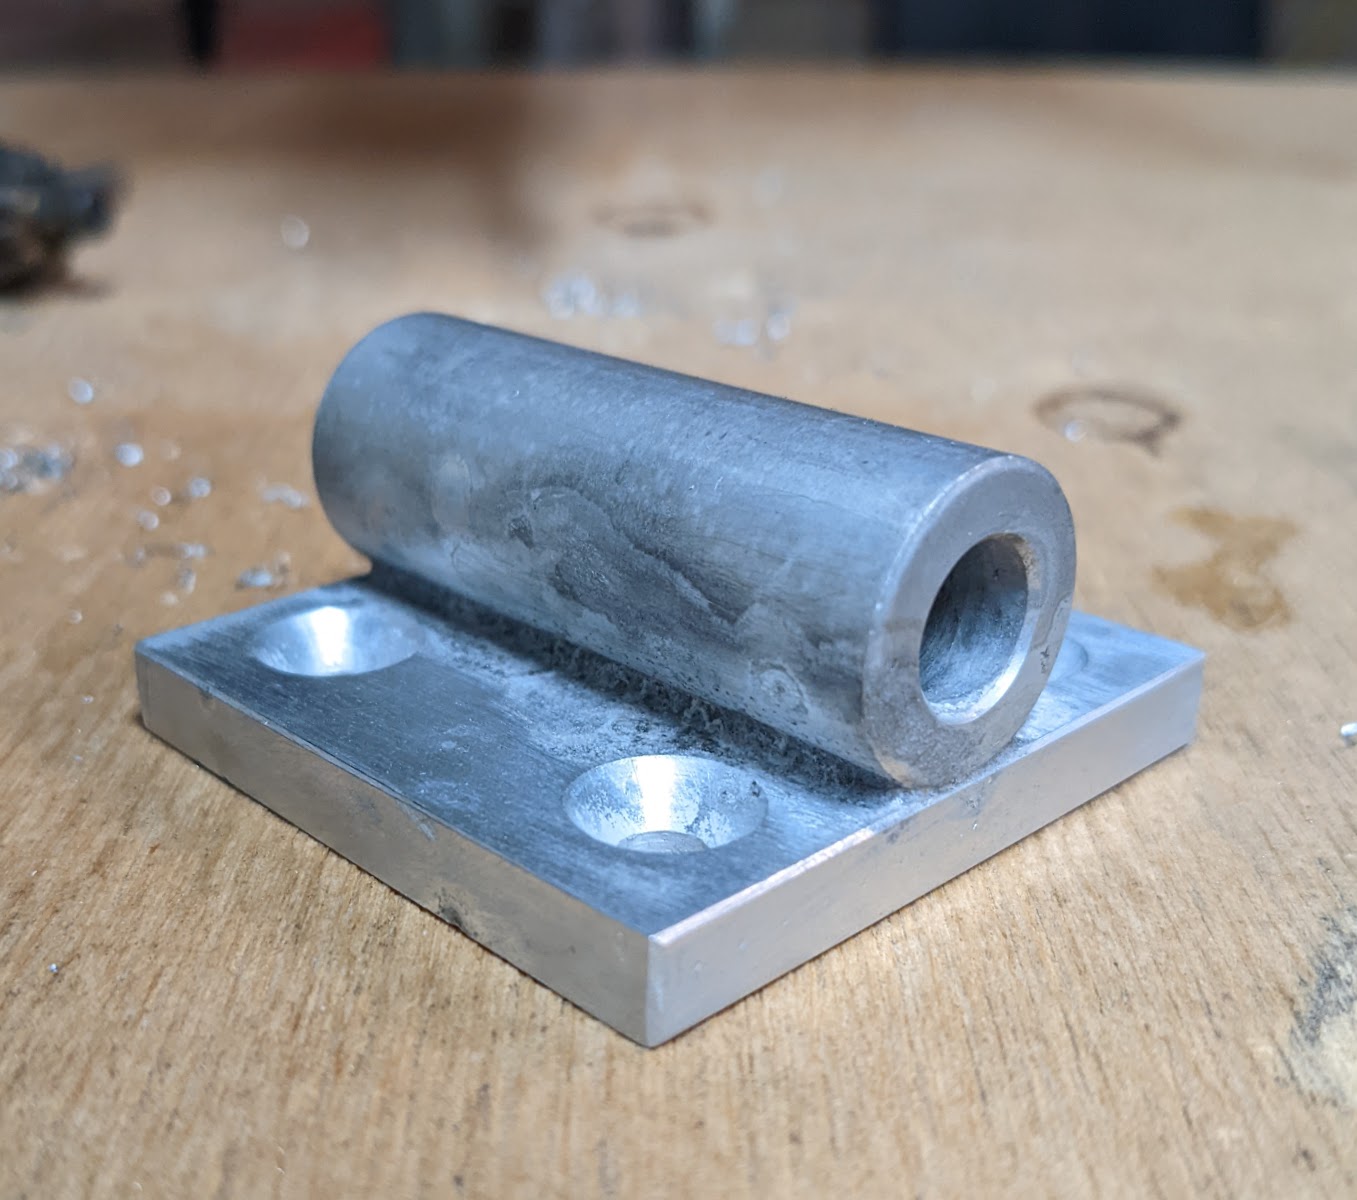
- Get ready for some messy surfaces after blasting with a map-pro gas torch (wire or plastic brush attachments for a drill are a great way to clean it up afterwards)
- Getting to temperature is a uphill battle. This attempt was immediately reminiscent of soldering a circuit board with beefy thermal vias - convection is far more effective at transferring heat than is intuitive at human-scale temperatures (and at brazing temperatures, radiation starts to play a role too!). A pre-heat of the part (using a propane oven or even a toaster oven?) would probably be a great help in getting the part to temperature.
- even brazing inside or with a refractory hood might help - you don't lose as much of the heat, and prevent convection cells from forming over the part
- You cannot touch your work while brazing, so be prepared with implements or clamp it down exactly where you want it to be. my partially melted glove (wearing those was a good move I guess) is a reminder to me for next time.
In the end, they were not the prettiest things - but the joints worked very well! Brazing, contrary to popular (or at least my own) belief, is just as strong as welding, so I have confidence other parts of the table will yield before they do.
Stripped but not Forgotten
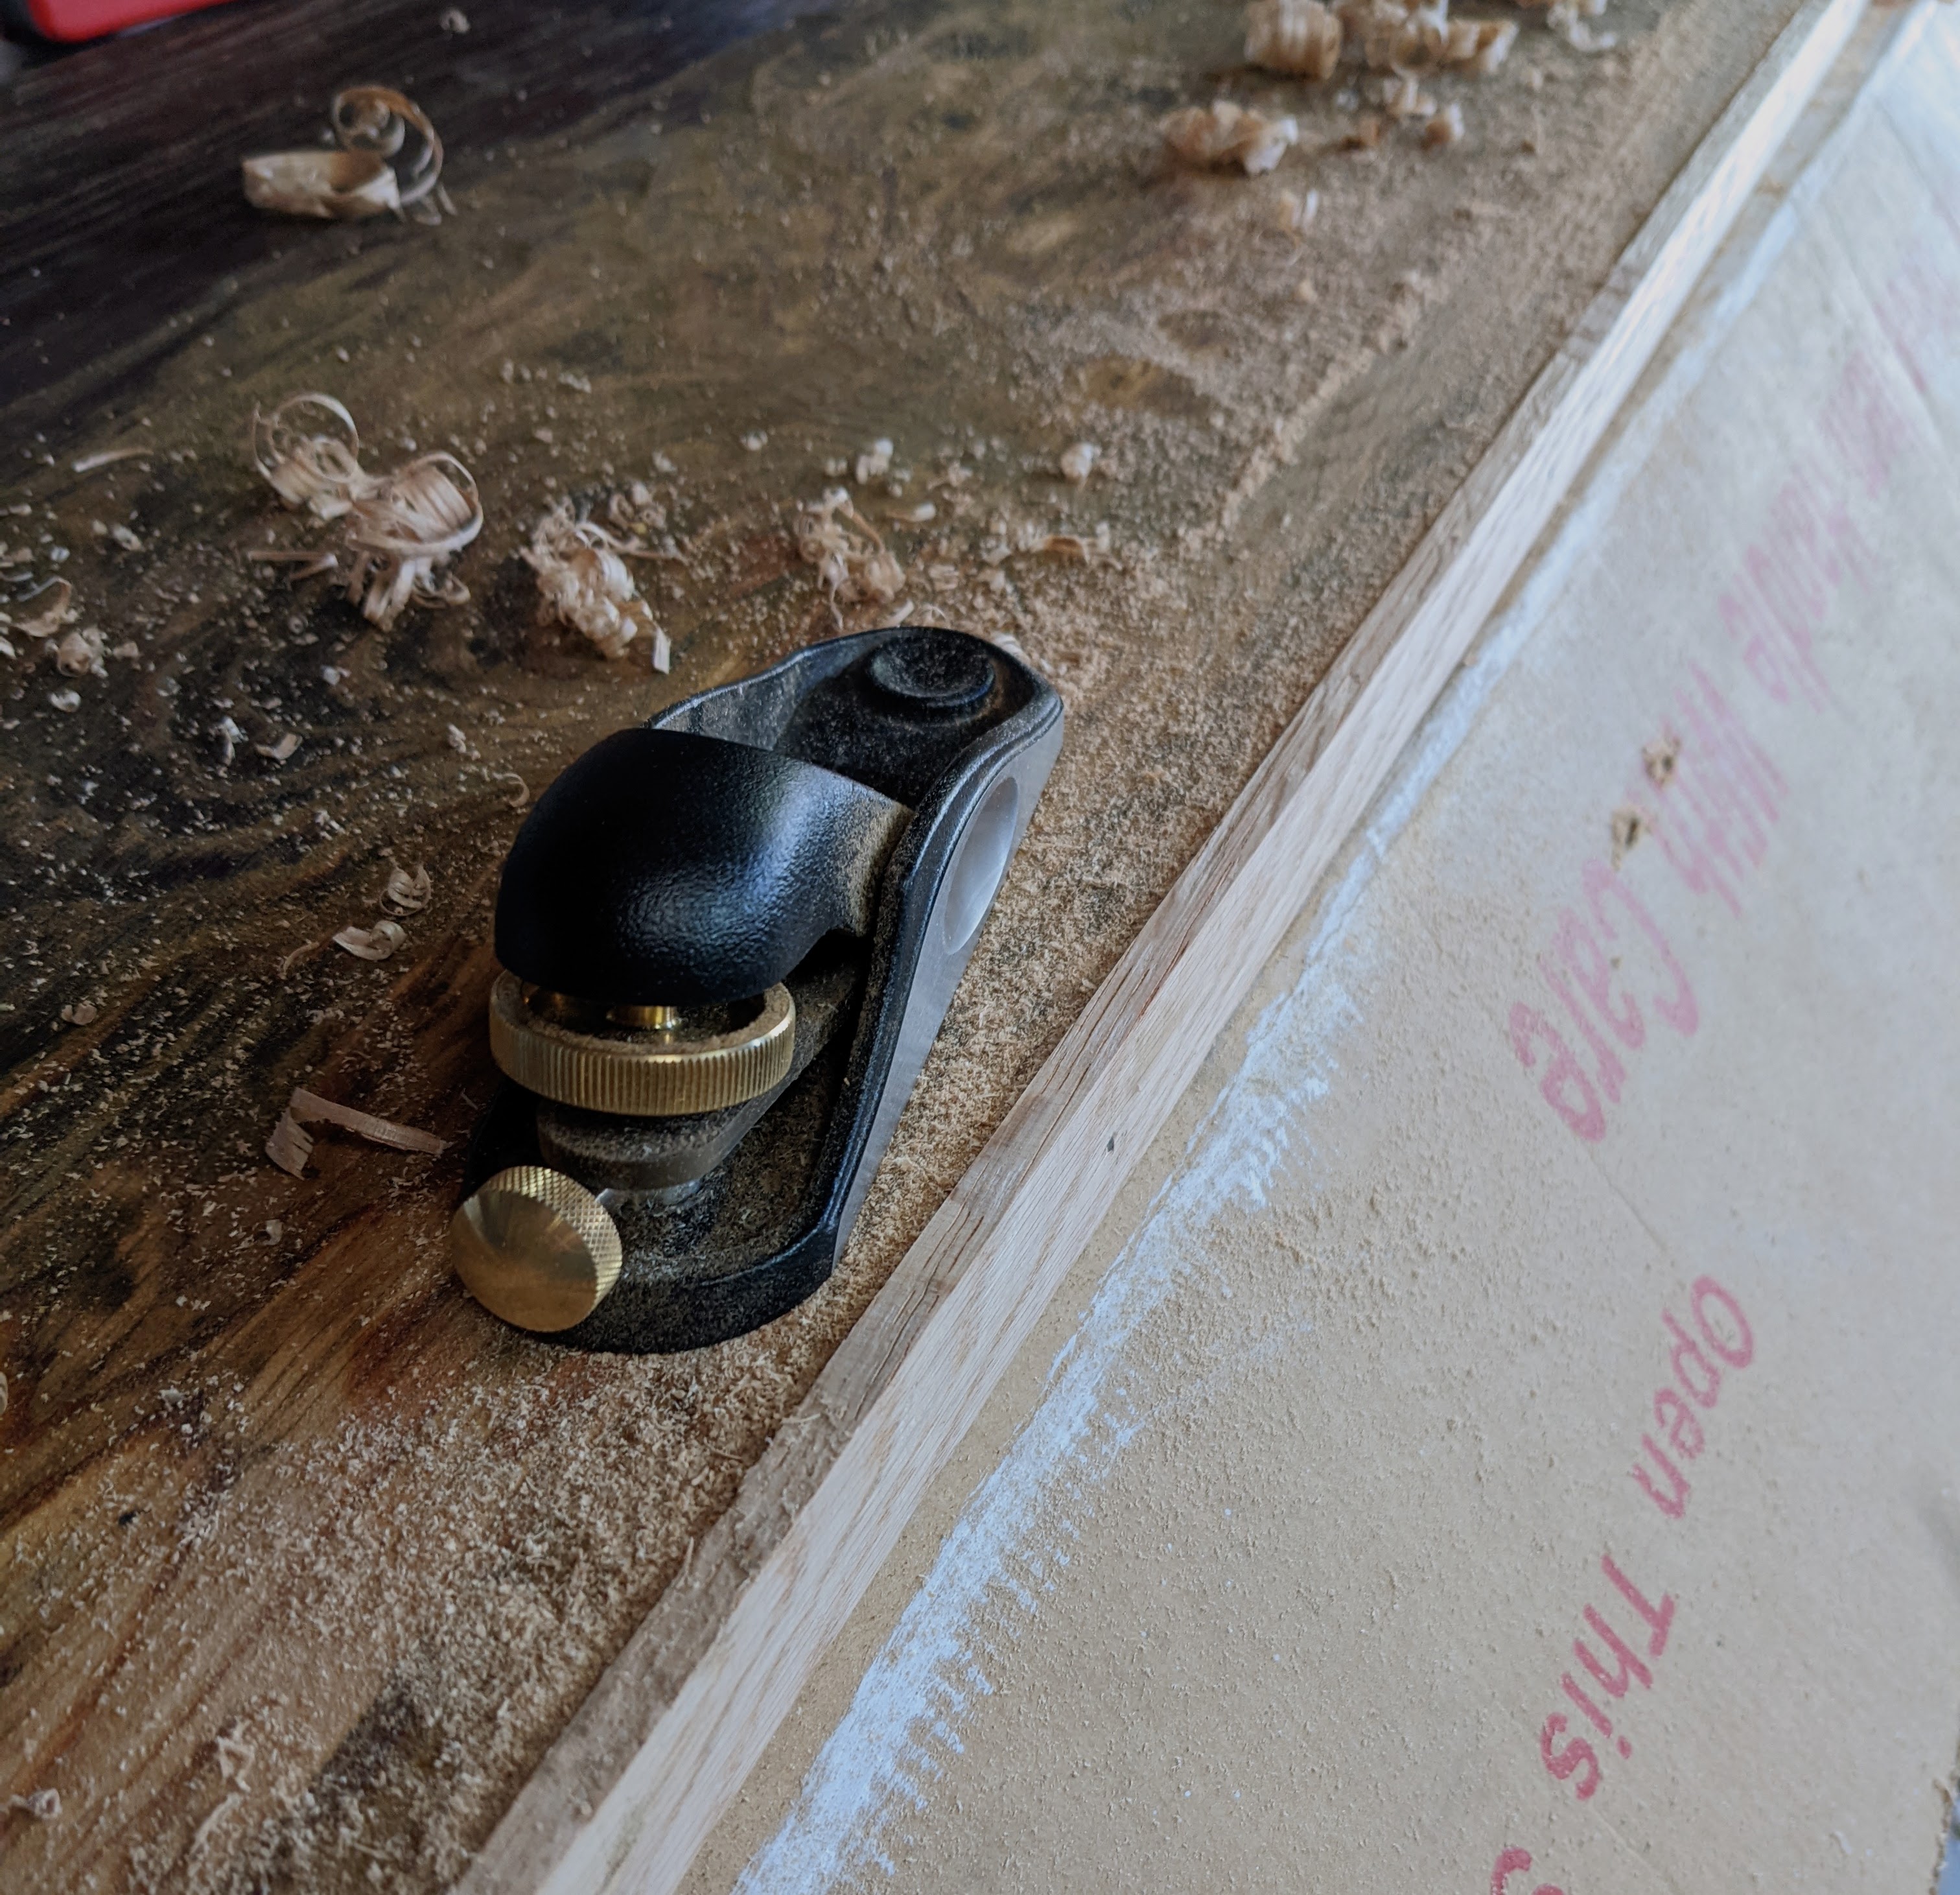
The rest of the finishing was a laborious cycle of cleaning, sanding, oiling raw wood bits, and applying polyurethane. For this project I used Danish oil and hand-rubbed poly finish from Watco, and the latter went on very nicely, even on top of old finish and the dark oil-soaked masonite tabletop (sanding and much degreasing helped with preventing poor adhesion). The bottom shelf was another story, very weathered and coated in an amalgum of grey enamel paint and yet more machine oil. I decided the best method of restoration would be to take this to bare wood, and used several courses of CitriStrip to remove the paint. This process was awful and left the un-stained sections of the board raw - I added a few applications of red oak stain to match colors as best as I could.
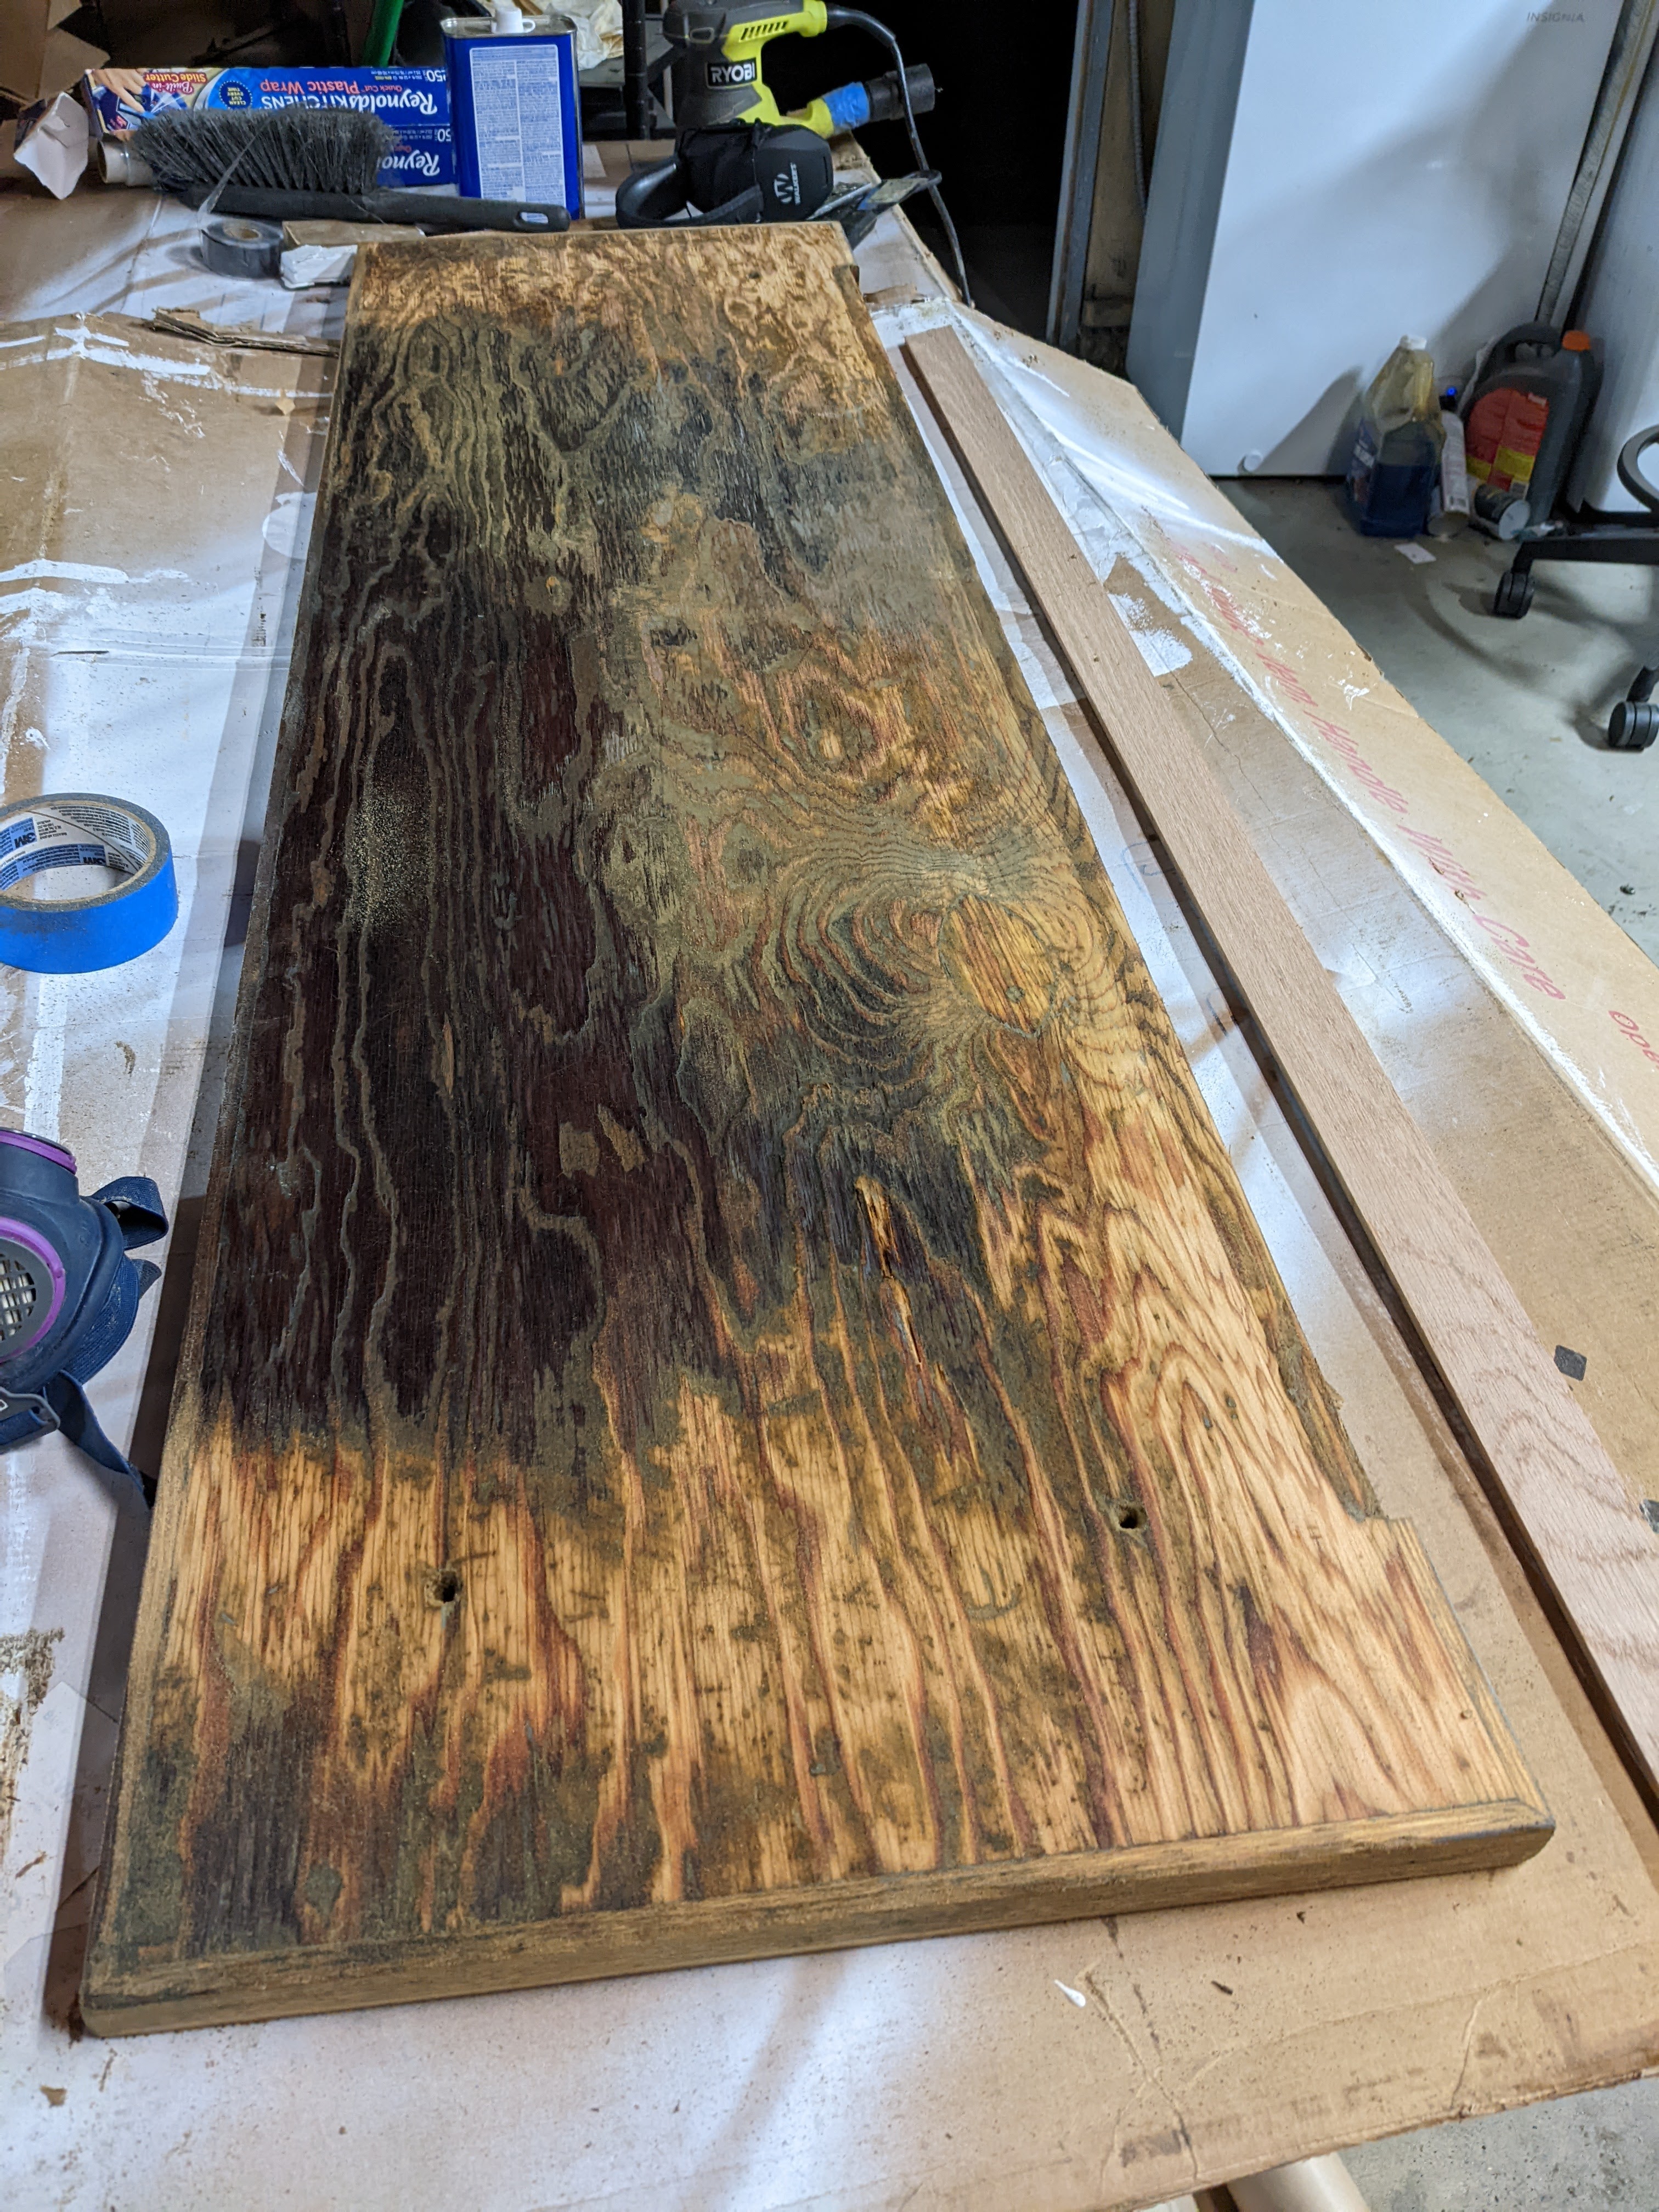
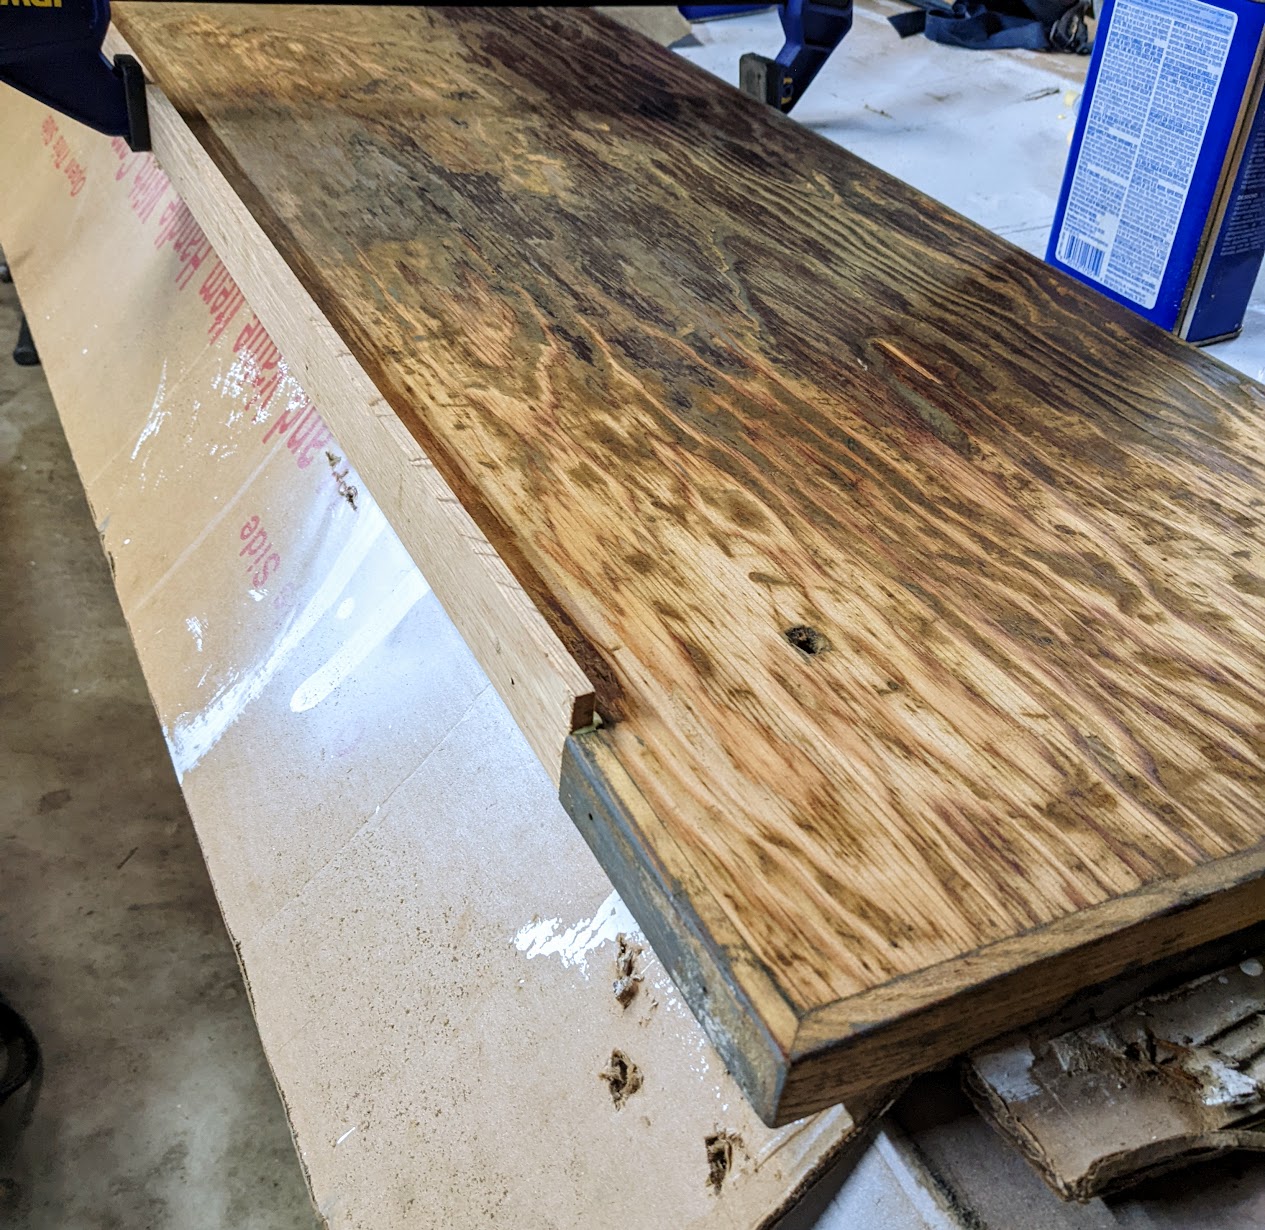
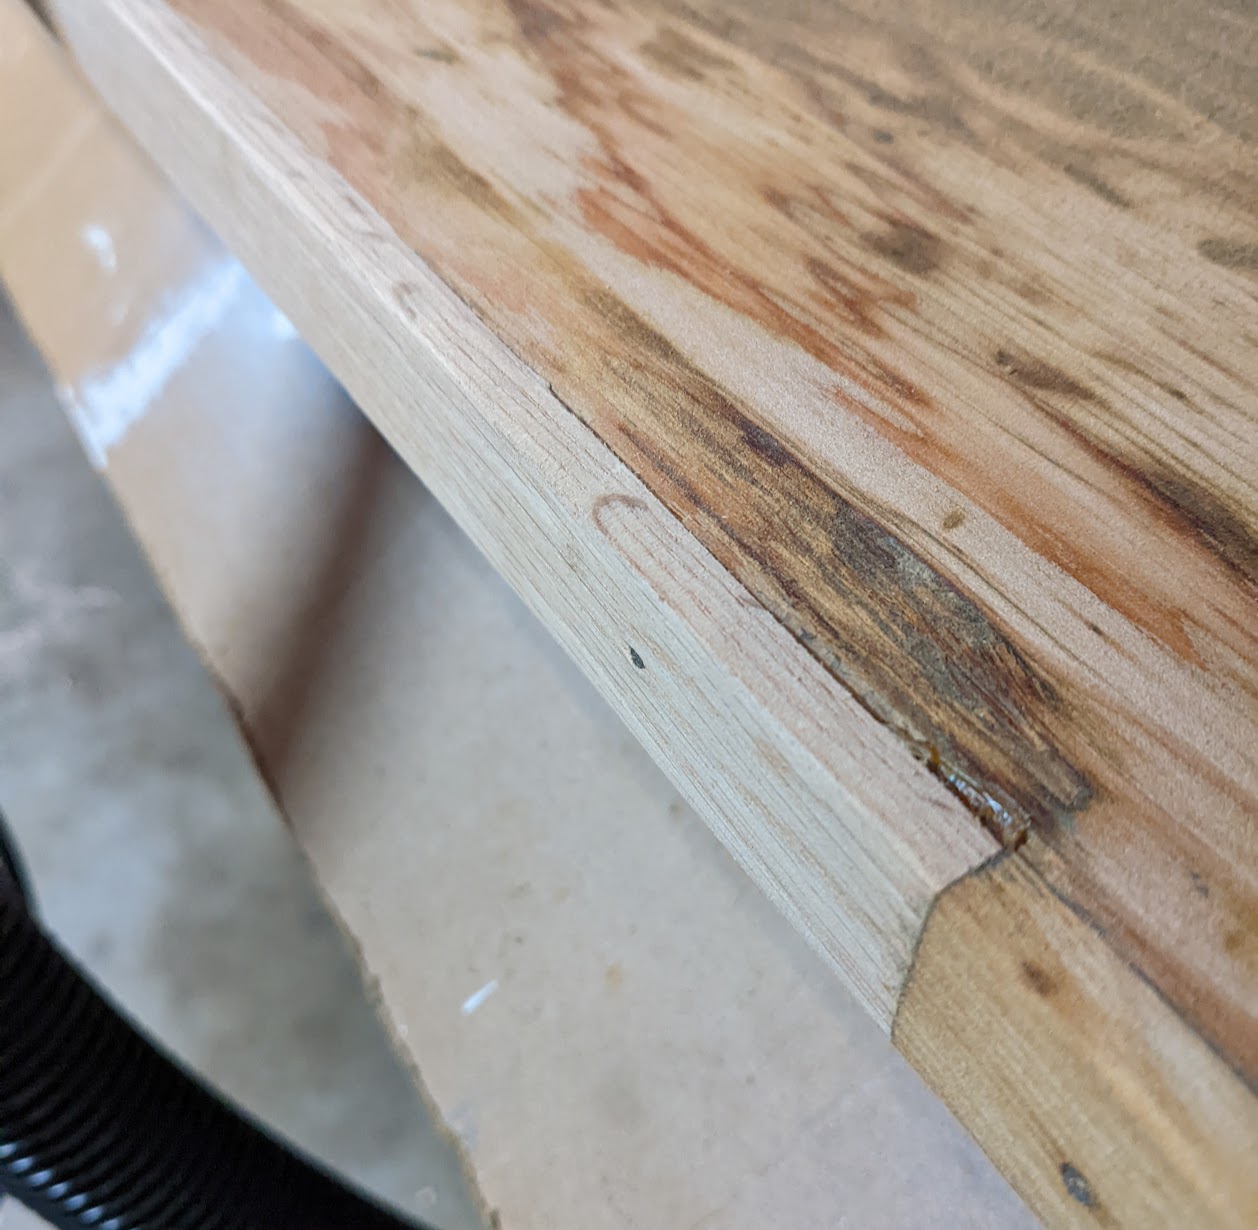
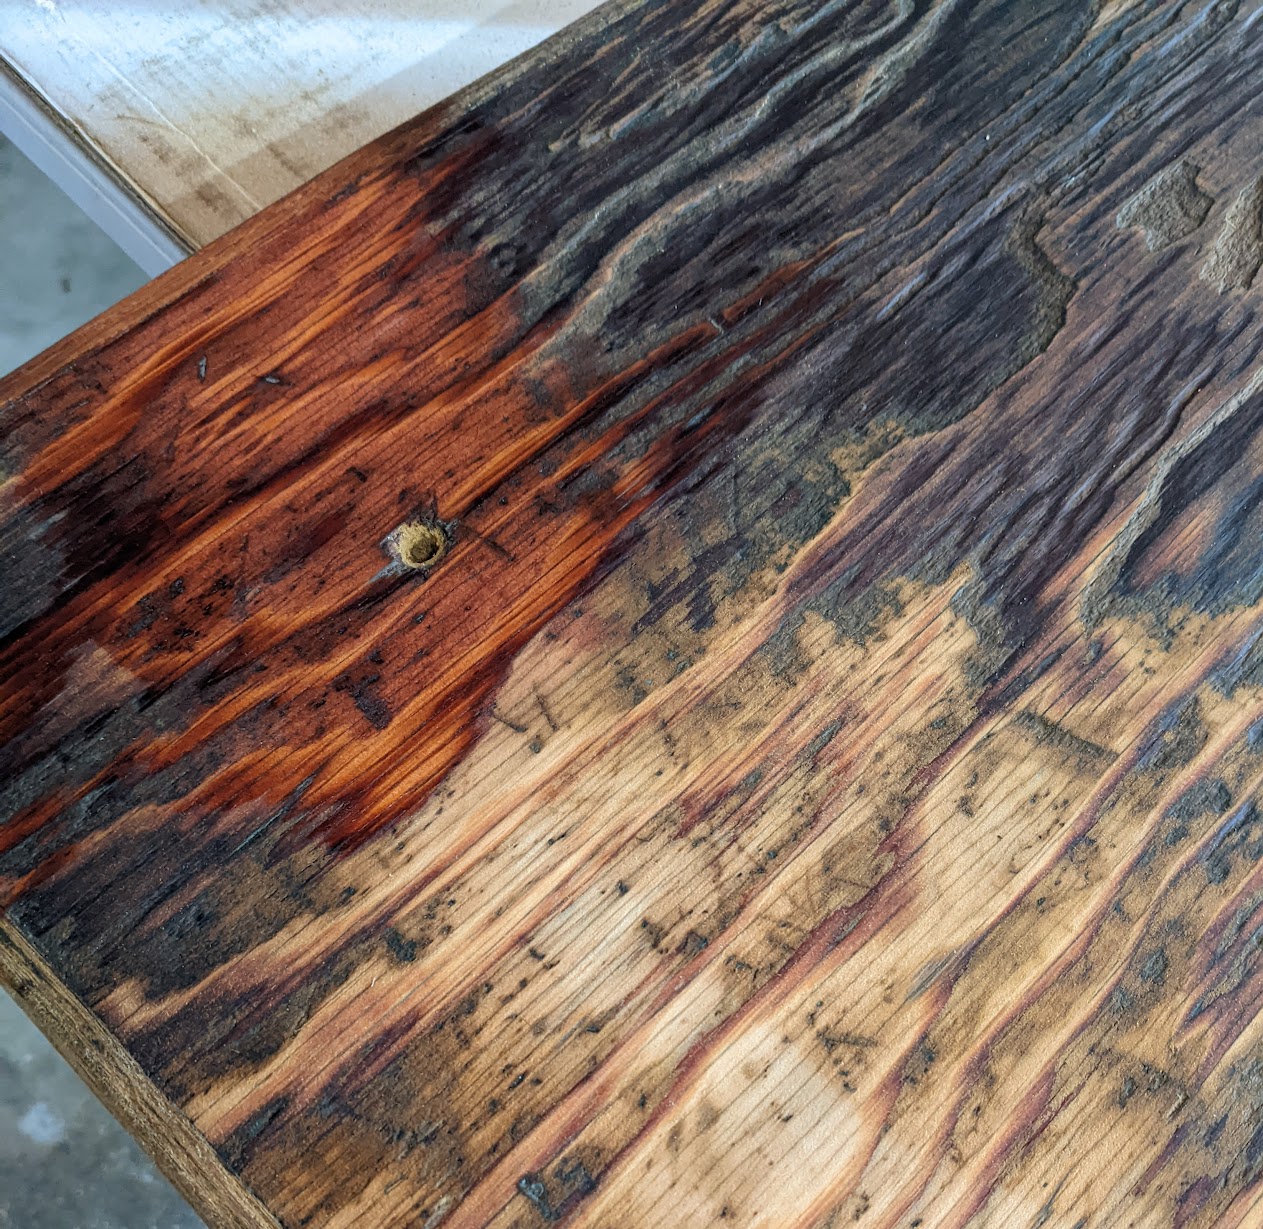
What does Citristrip expect us to do with their product after using it? should it just be tossed in a landfill with the rest of our trash? the SDS makes many claims about the hazards of the product when it comes to skin contact, ingestion, and apparently it can affect fertility?... but says nothing about throwing it out, other than to follow your local laws. on Ecological impacts (guess what - landfills were always part of our ecology) it simply reads "Product not tested as a whole".
We're happy with how it turned out! combined with a few stools swiped from Craigslist, it's giving us all of the urban cafe vibes we were hoping for. and the braces make it incredibly rigid - if I need some extra room for the next project in the queue, I know where to go!
Update: it's now 2025, and I've refreshed this post alongside refreshing this blog. The table is holding up great! it's hosted many dinners, work sessions, crafting parties, and one or twoo beer pong setups, with hardly a complaint. one of my brazes has failed - I'm not shocked, it was my first attempt. I've got a to-do to repair it, but the other bracket is holding things together just fine for now.

